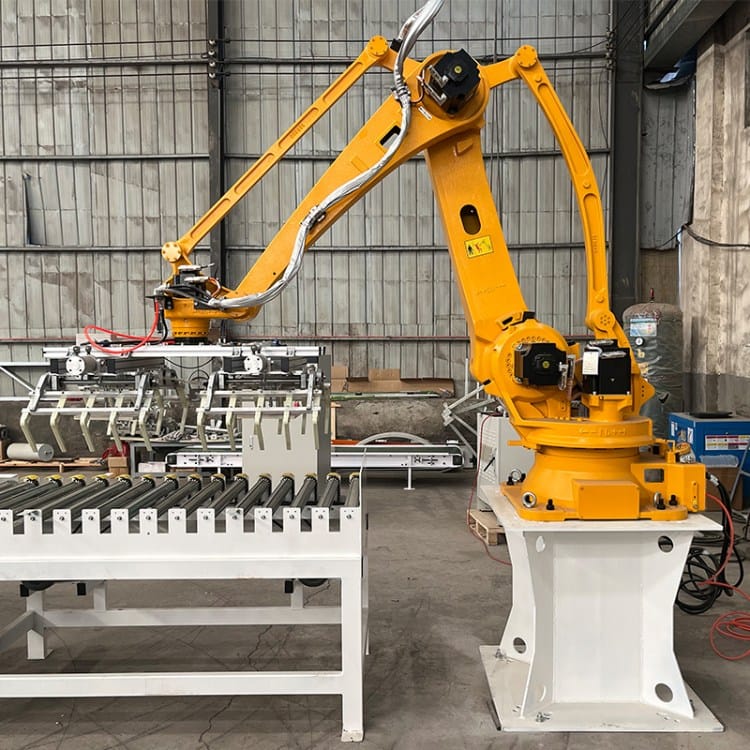
- By zhccyh.com
- September 24, 2025
- 0 Comment
Palletizing Robot Arm Operation Guide & Safety Precautions
Safety Precautions
Before operating the palletizing robot arm, strictly adhere to the following safety guidelines:
1. Personal Protective Equipment (PPE):
– Wear safety gloves, goggles, and closed-toe shoes.
– Avoid loose clothing or jewelry that could get caught in the machinery.
2. Training & Authorization:
– Only trained personnel with proper certification may operate the robot arm.
3. Emergency Stop:
– Familiarize yourself with the location and function of the **E-STOP button**. Test it before operation.
– In case of abnormal behavior, press E-STOP immediately.
4. Work Area Safety:
– Ensure the workspace is clear of obstacles and unauthorized personnel.
– Use safety barriers or light curtains to prevent accidental entry during operation.
5. Power & Maintenance:
– Turn off the power supply before performing maintenance or adjustments.
– Never bypass safety interlocks or override system warnings.
Pre-Operation Checklist
1. Inspect the Robot Arm:
– Check for loose bolts, damaged cables, or signs of wear.
– Verify that grippers/clamps are securely attached.
2. Workpiece Compatibility:
– Confirm the weight and dimensions of the load do not exceed the robot’s maximum capacity (refer to the manual).
3. Program Verification:
– Ensure the correct palletizing program (stacking pattern) is loaded.
– Validate coordinates for pick-and-place positions.
4. Workspace Preparation:
– Clear debris from conveyors, pallets, and sensors.
– Ensure pallets are properly aligned and stabilized.
Operating Procedures
Step 1: Power On & Initialization
– Turn on the main power switch.
– Boot up the control system and wait for initialization to complete.
Step 2: Manual Calibration (If Required)
– Use the teach pendant to manually adjust the robot’s home position and gripper alignment.
Step 3: Test Run
– Run a **dry cycle** (without load) to confirm motion paths and detect collisions.
– Monitor for unusual noises or vibrations.
Step 4: Start Production
– Activate the automated mode via the control panel.
– Monitor the first few cycles to ensure proper stacking and gripper functionality.
Step 5: Shutdown
– Return the robot to its home position.
– Power off the system and disconnect the main supply.
Maintenance & Troubleshooting
Regular Maintenance:
– Lubricate joints and rails weekly.
– Clean optical sensors and cameras to avoid misalignment.
– Inspect pneumatic/electric grippers for wear.
Common Issues & Solutions:
| Issue | Possible Cause | Action |
|---|---|---|
| Arm not responding | Loose cable connection | Check power and communication lines |
| Misaligned stacking | Incorrect program settings | Recalibrate coordinates |
| Unusual noise | Lack of lubrication | Apply grease to joints |
| Gripper failure | Air pressure loss (pneumatic) | Check compressor and valves |
Note: For complex faults, contact certified technicians. Do NOT attempt repairs without authorization.
Critical Reminders
– Do NOT overload the robot arm. Exceeding weight limits may cause mechanical failure.
– Avoid rapid parameter changes during operation.
– Back up programs regularly to prevent data loss.
– d0cument all operations and maintenance activities.
Always prioritize safety over productivity. Report malfunctions immediately to avoid accidents.
If you want to know more about the equipment configuration and other details, please feel free to communicate with us